Seamless Mobility of Enterprise Applications to the Cloud Using SVM-DR


Ankita Dhawale
 Enterprises are moving toward the cloud; however, on-premise storage is not going anywhere. Customers have a mix of on-premise, private cloud, and public cloud as part of their infrastructure. Protecting this infrastructure is crucial for any organization. NetApp is a one stop shop for data protection, backup and recovery, disaster recovery (DR), and long-term retention solutions.
This blog is all about one of the NetApp® data protection solutions, NetApp Storage Virtual Machine Disaster Recovery (SVM-DR), which was introduced in NetApp ONTAP® 8.3. With SVM-DR you can replicate an entire SVM, consisting of multiple data volumes and their configuration data, as a part of a single job. For full information about configuring SVM-DR using the CLI, see Replicating the Entire SVM Configuration. Starting with ONTAP 9.5, SVM-DR can be configured using the ONTAP System Manager as well.
Customers always want simplicity, cost-effective solutions, and seamless mobility of data. The major use case for SVM-DR includes using data for test/dev purposes. The data can be cloned inside SVM and used for DR testing without breaking SnapMirror® replication.
SVM-DR allows seamless mobility of data from on-premise to the cloud and back. Because SVM-DR supports FabricPool, it is also possible to replicate data to an S3 bucket.
This blog covers replication of enterprise applications hosted on NetApp on-premises ONTAP to Cloud Volumes ONTAP on AWS. NetApp has the Microsoft SQL Server application, hosted on ONTAP 9.7. and Cloud Volumes ONTAP on AWS running ONTAP 9.7 as a DR site.
Figure 1) SVM-DR use case scenario.  This blog describes three important things:
- Setting up a DR site
- Simulation of a disaster
- Disaster recovery from a cloud
Figure 2) shows the SVM-DR source accessed via ONTAP System Manager.
 Next, we protect the source SVM by creating a DR copy in the cloud. (Cloud Volumes ONTAP has been created using Cloud Manager; see the Cloud Manager and Cloud Volumes ONTAP documentation in Cloud Central. Once configured, you can access Cloud Volumes ONTAP by using ONTAP System Manager.)
Figure 3 shows Cloud Volumes ONTAP and how to create a relationship using Protect Storage VMs.
Figure 3) SVM-DR relationship creation.
 Once the relationship is established, the mirrored relationship is visible, as shown in Figure 4.
Figure 4) SVM-DR relationship established.
 Next, we look at the destination cluster. Figure 5 shows that the destination SVM has been created with type ‘dp-destination’ and it is in a stopped state. This DR site remains in a stopped state as long as we are replicating from the source SVM. If a disaster happens on the source SVM, the destination can be brought up into a running state to serve users from the DR site until the source site can be repaired.
Figure 5. Destination SVM (Cloud Volumes ONTAP on AWS).
 Cloud Manager > Working Environments shows that a relationship is established between on premise and cloud (Figure 6).
Figure 6) Cloud Manager GUI.
 Note the database LARetail (Figure 7) is on the premises before we simulate the disaster.
Figure 7) SQL database on premises.
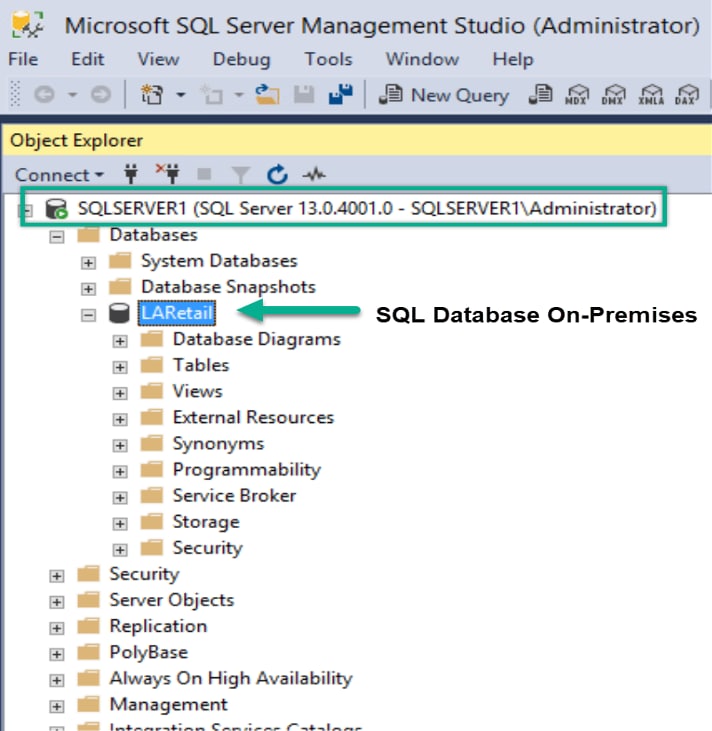 Figure 8 shows a disaster scenario that can bring down the source SVM.
Figure 8) Stop the source SVM.
 Activate the destination SVM from the destination cluster to break the relationship and bring the destination SVM online in read/write mode (Figure 9 and Figure 10).
Figure 9) Activate the destination SVM.
 Figure 10) The relationship is broken off (when the destination is activated).
  Check that the destination SVM status has changed to running and the subtype is default (Figure 16).
Figure 11) The destination is now active.
 Next, we create an EC2 instance with the Microsoft SQL Server application and rescan the disks (Figure 12). Then we can go ahead and attach the database and start serving the application users.
Figure 12) Recovered SQL database in the cloud.
 Once the source is back, we can always reverse resync from the destination (Figure 13).
Note: SVM-DR Reverse Resync Command is not yet supported with ONTAP System Manager 9.7 GUI. It will be available in ONTAP System Manager 9.8 GUI.
That is why I used the classic version of ONTAP System Manager in Figure 13.
Figure 13) Reverse Resync from destination.
 When reverse resync is finished, reactivate the source SVM (Figure 19).
Figures 14) Reactivate the Source
 Figure 15) DR relationship is synced.
  Figure 16) Source SVM is now back as running state and destination is back to a stopped state.
  Hurray! It’s that simple.
To summarize: - You can always seamlessly replicate app-aware SVM data and configuration from on the premises to the cloud and, in case of a source site failure, serve users from the cloud. Once you’re the on-premises source is back up and running, you can always resync from the destination.
Ankita Dhawale
Ankita Dhawale is a Technical Marketing Engineer for Data Protection Partner Solutions. She has experience working in data protection including pre and post-sale activities, implementation, field enablement, end to end data protection solutions. Apart from Work she really enjoys Trekking and Photography.